Full Disk Access (macOS)
macOS keeps apps out of your personal folders unless you let them in. Grant Disk Space Full Disk Access once and it can measure your whole disk cleanly, with no permission pop-up for every folder and no unreadable gaps in the results.
This page only applies to macOS. On Windows and Linux the app can scan without this step.
Why the app asks for it
Without Full Disk Access, macOS asks permission for each protected folder separately (Documents, Photos, Downloads, and so on), and some folders stay unreadable no matter what. Those show up in the scan as skipped (no access), which means the totals you see are smaller than what's really on the disk. Granting access once fixes all of that.
The first-run window
The first time you start a scan, Disk Space shows a window explaining this and offering to take you straight to the right place in System Settings.
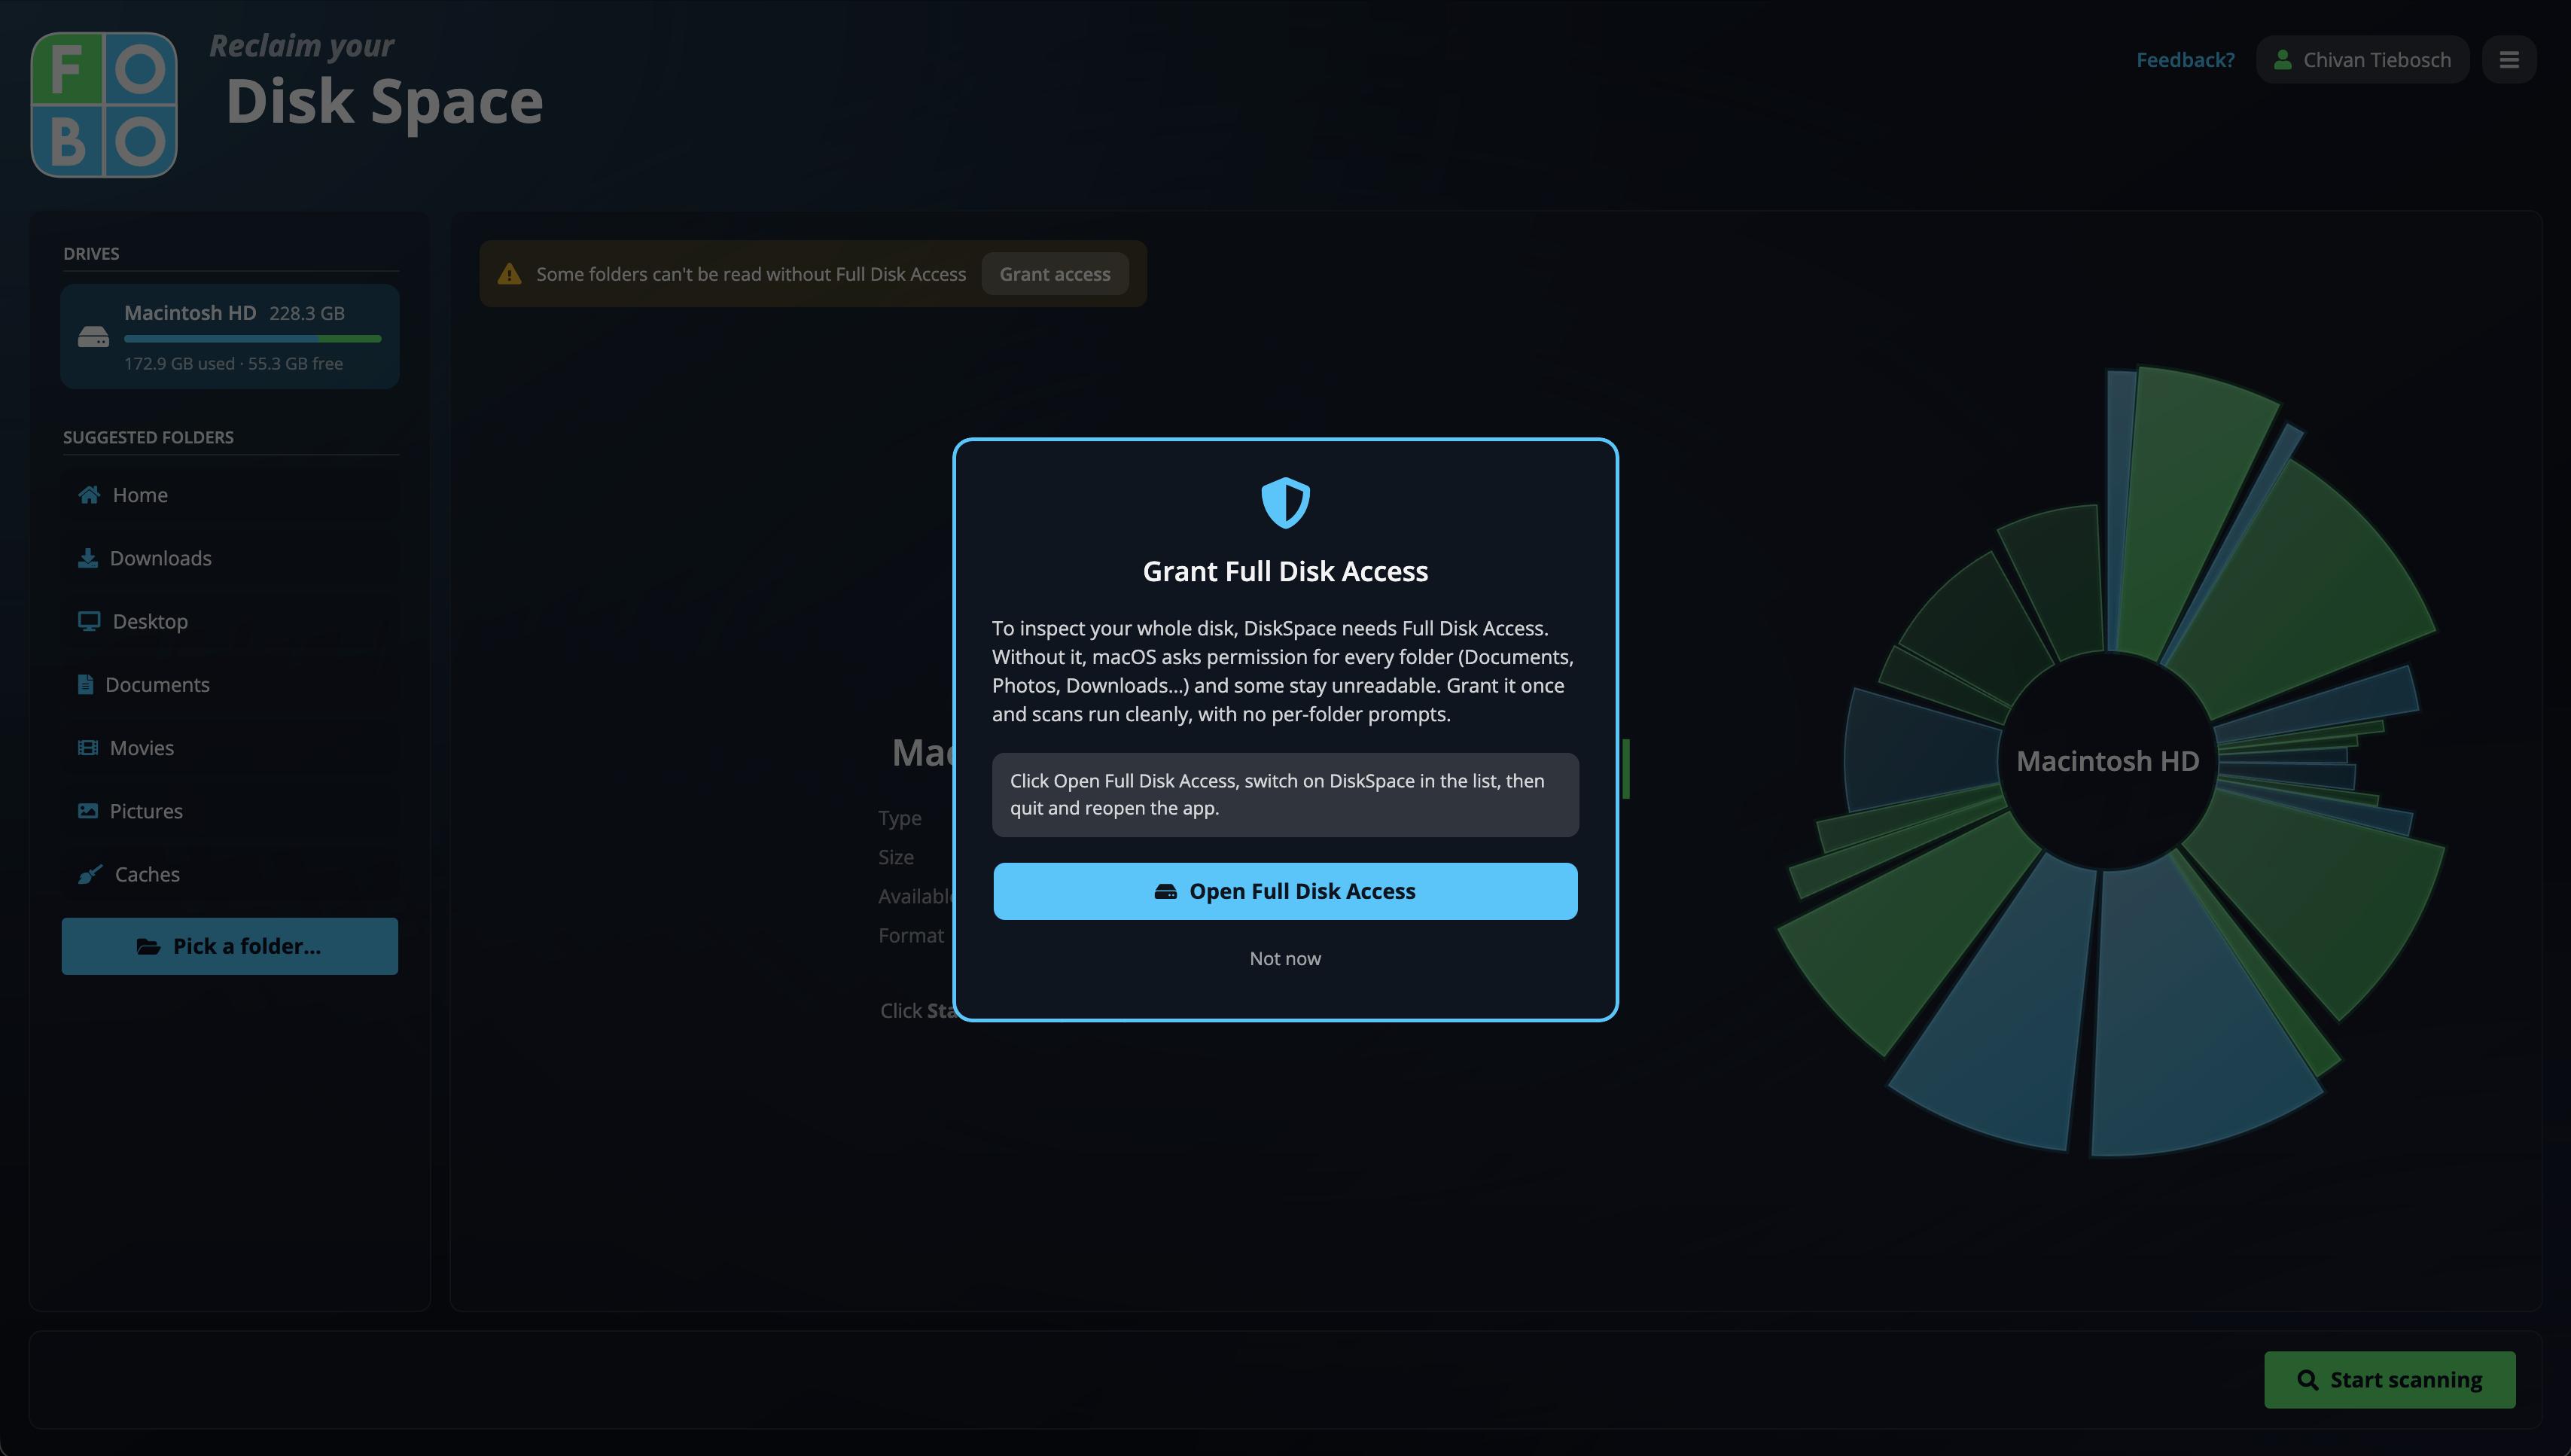
Granting access, step by step
- Click Open Full Disk Access. macOS opens System Settings on the Full Disk Access list.
- Find DiskSpace in the list and switch it on. If it isn't listed, click the + button and add the app.
- Quit Disk Space and open it again. macOS only applies the new permission to a freshly started app.
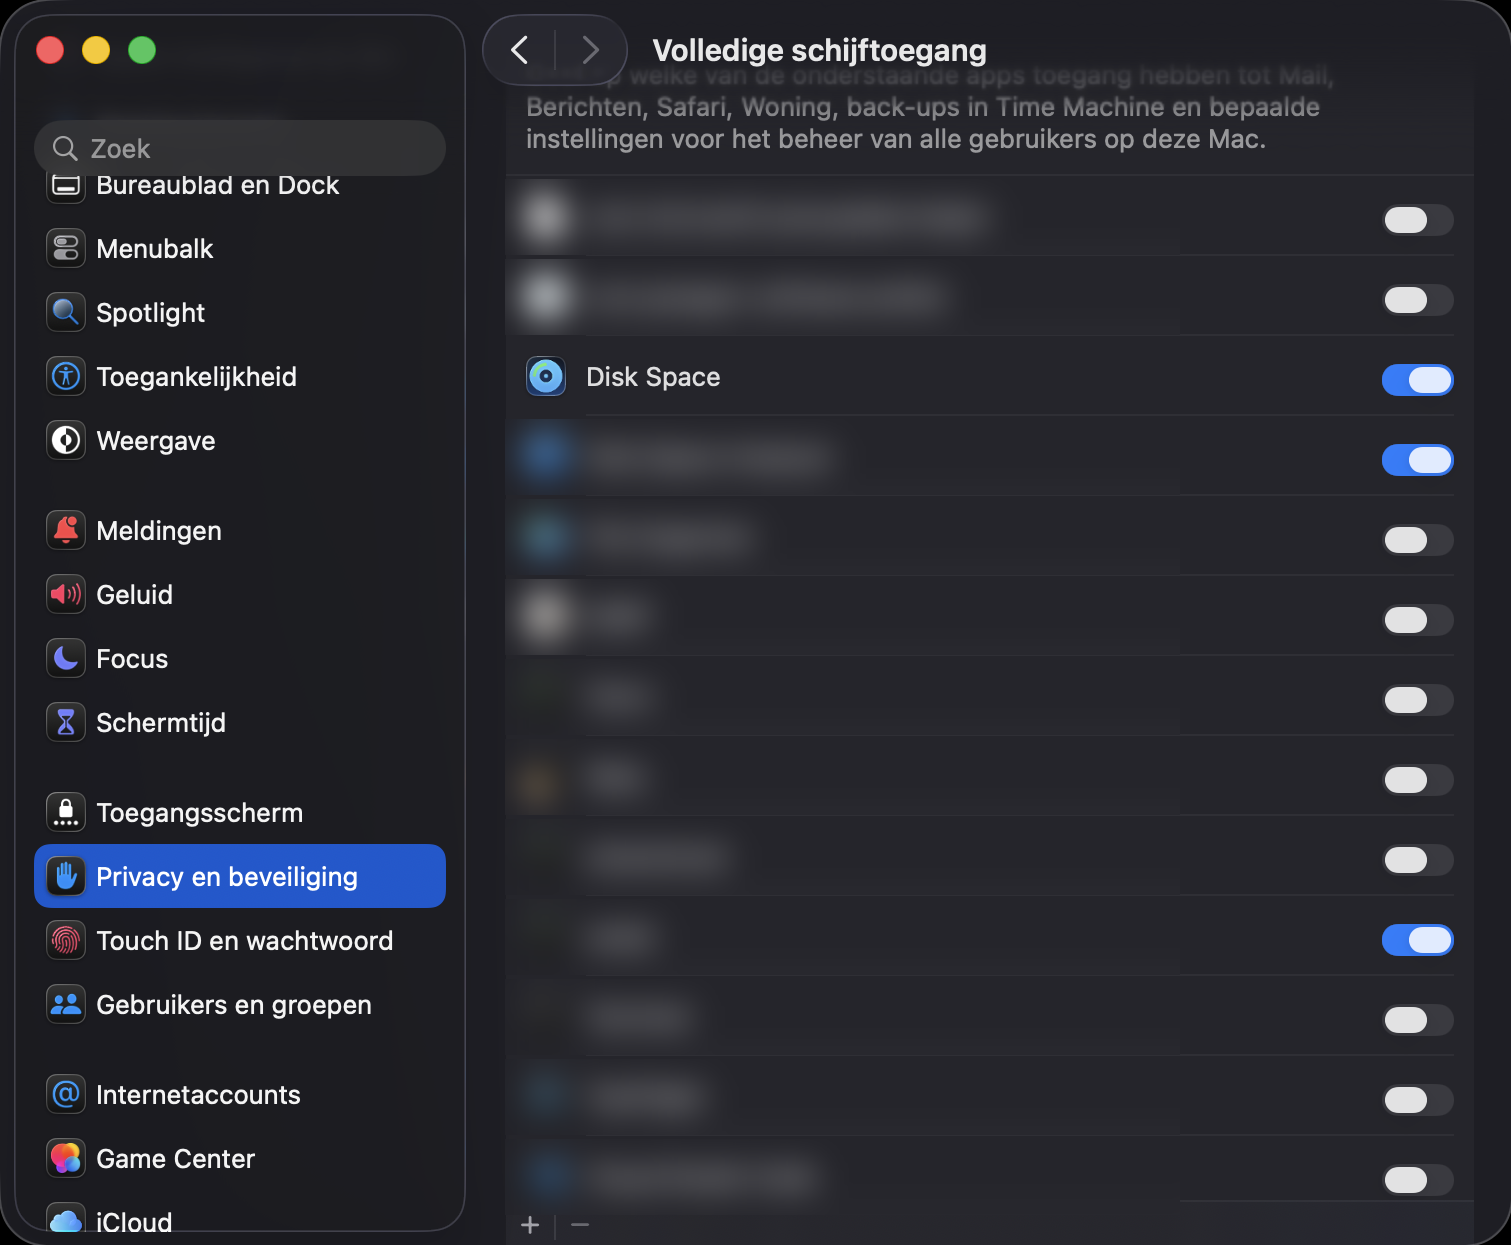
The restart matters. If you grant access but skip the quit-and-reopen, the scan still can't see the protected folders.
The amber banner
If you chose Not now, the app still works; it just can't read everything. An amber banner reading "Some folders can't be read without Full Disk Access" sits above the preview and the scan results, with a Grant access button that reopens the steps above whenever you're ready.
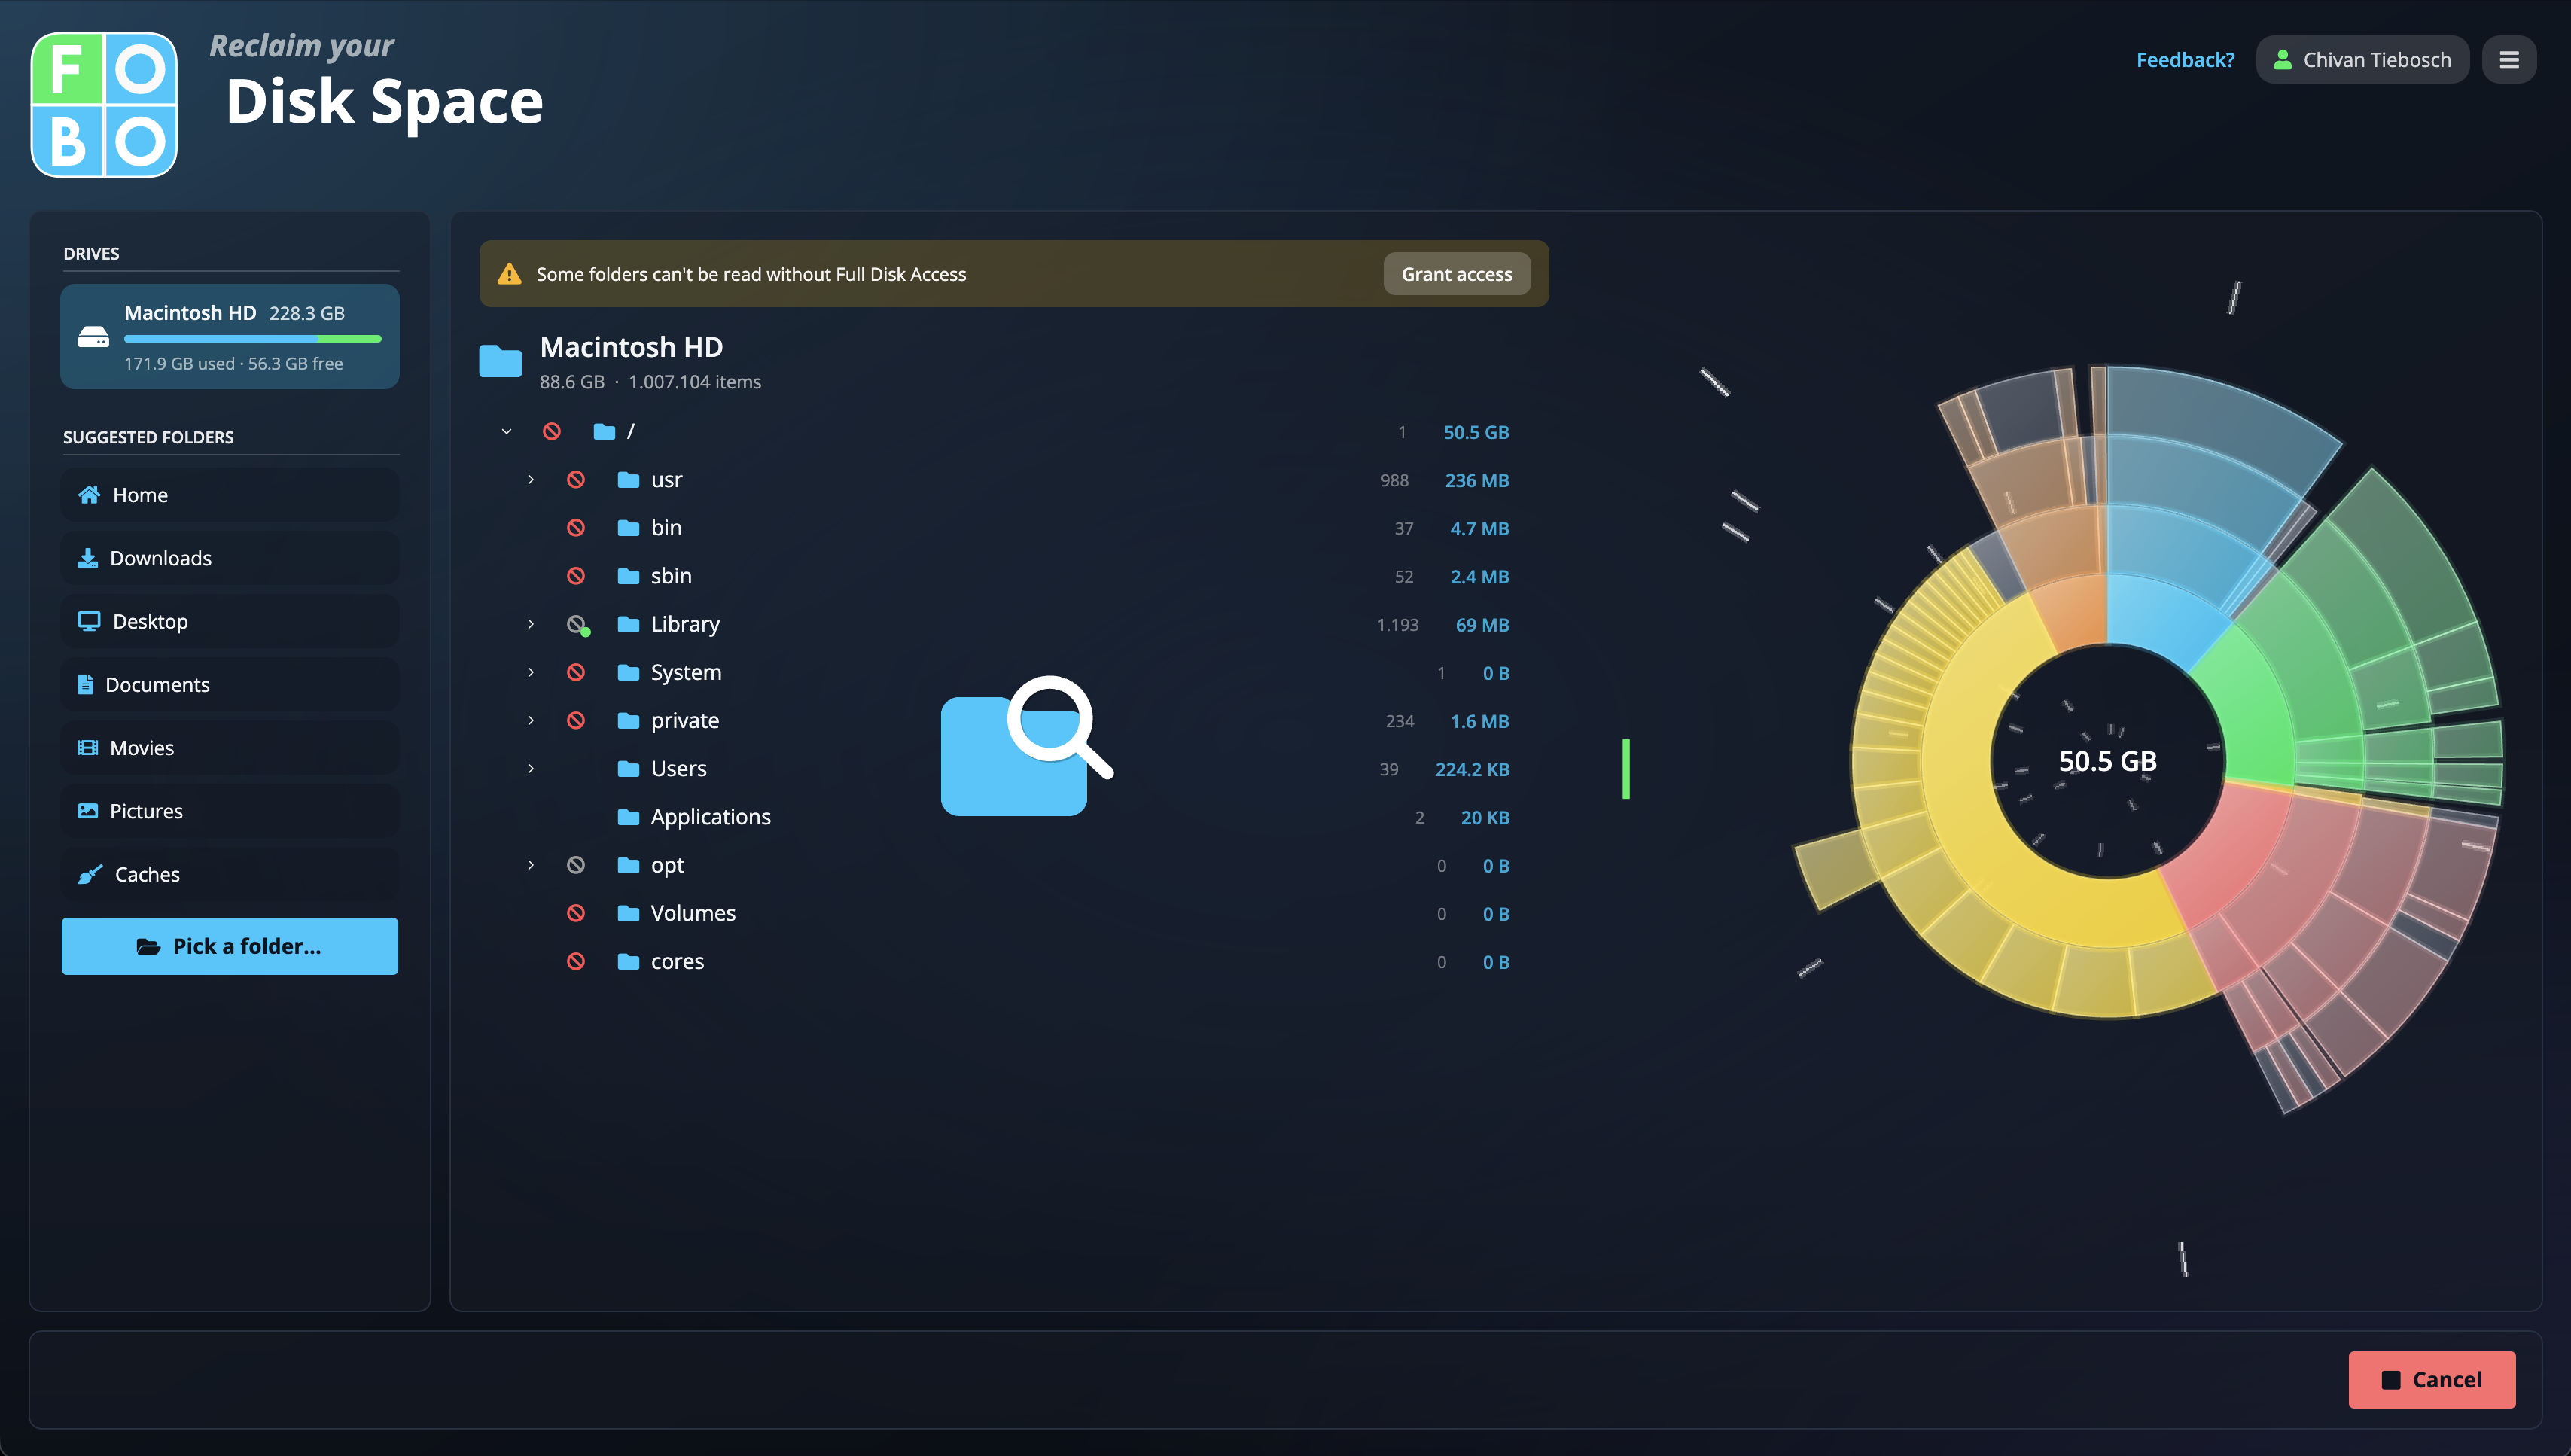
Checking the status later
Open Settings and look at the Full Disk Access row. It shows Granted or Not granted, with a Re-check button and a Grant access button next to it.
Full Disk Access only lets the app read your disk to measure it. Nothing is deleted or changed unless you explicitly ask for it later.
Didn't find your answer?
We're happy to help. Open a ticket and we'll get back to you.